

Here it is! A step by step tutorial to adding crochet edging to fleece! It is my new favorite thing to do and I am sure you will love it too. Best of all it is really pretty easy and opens a whole new world mixing fabrics in with your crochet. Join me on Instagram for crafty (and cat) pictures! These are the perfect baby shower gift. Make up several to have on hand. Make any size for quick gifts.
Want to add a embellishment? Check out my tutorials for a super cute koala or an adorable owl.
Before we start I want to warn you I am not a perfectionist. Things will not be perfect and I fudge mistakes an awful lot!
Step One: Gather Your Supplies
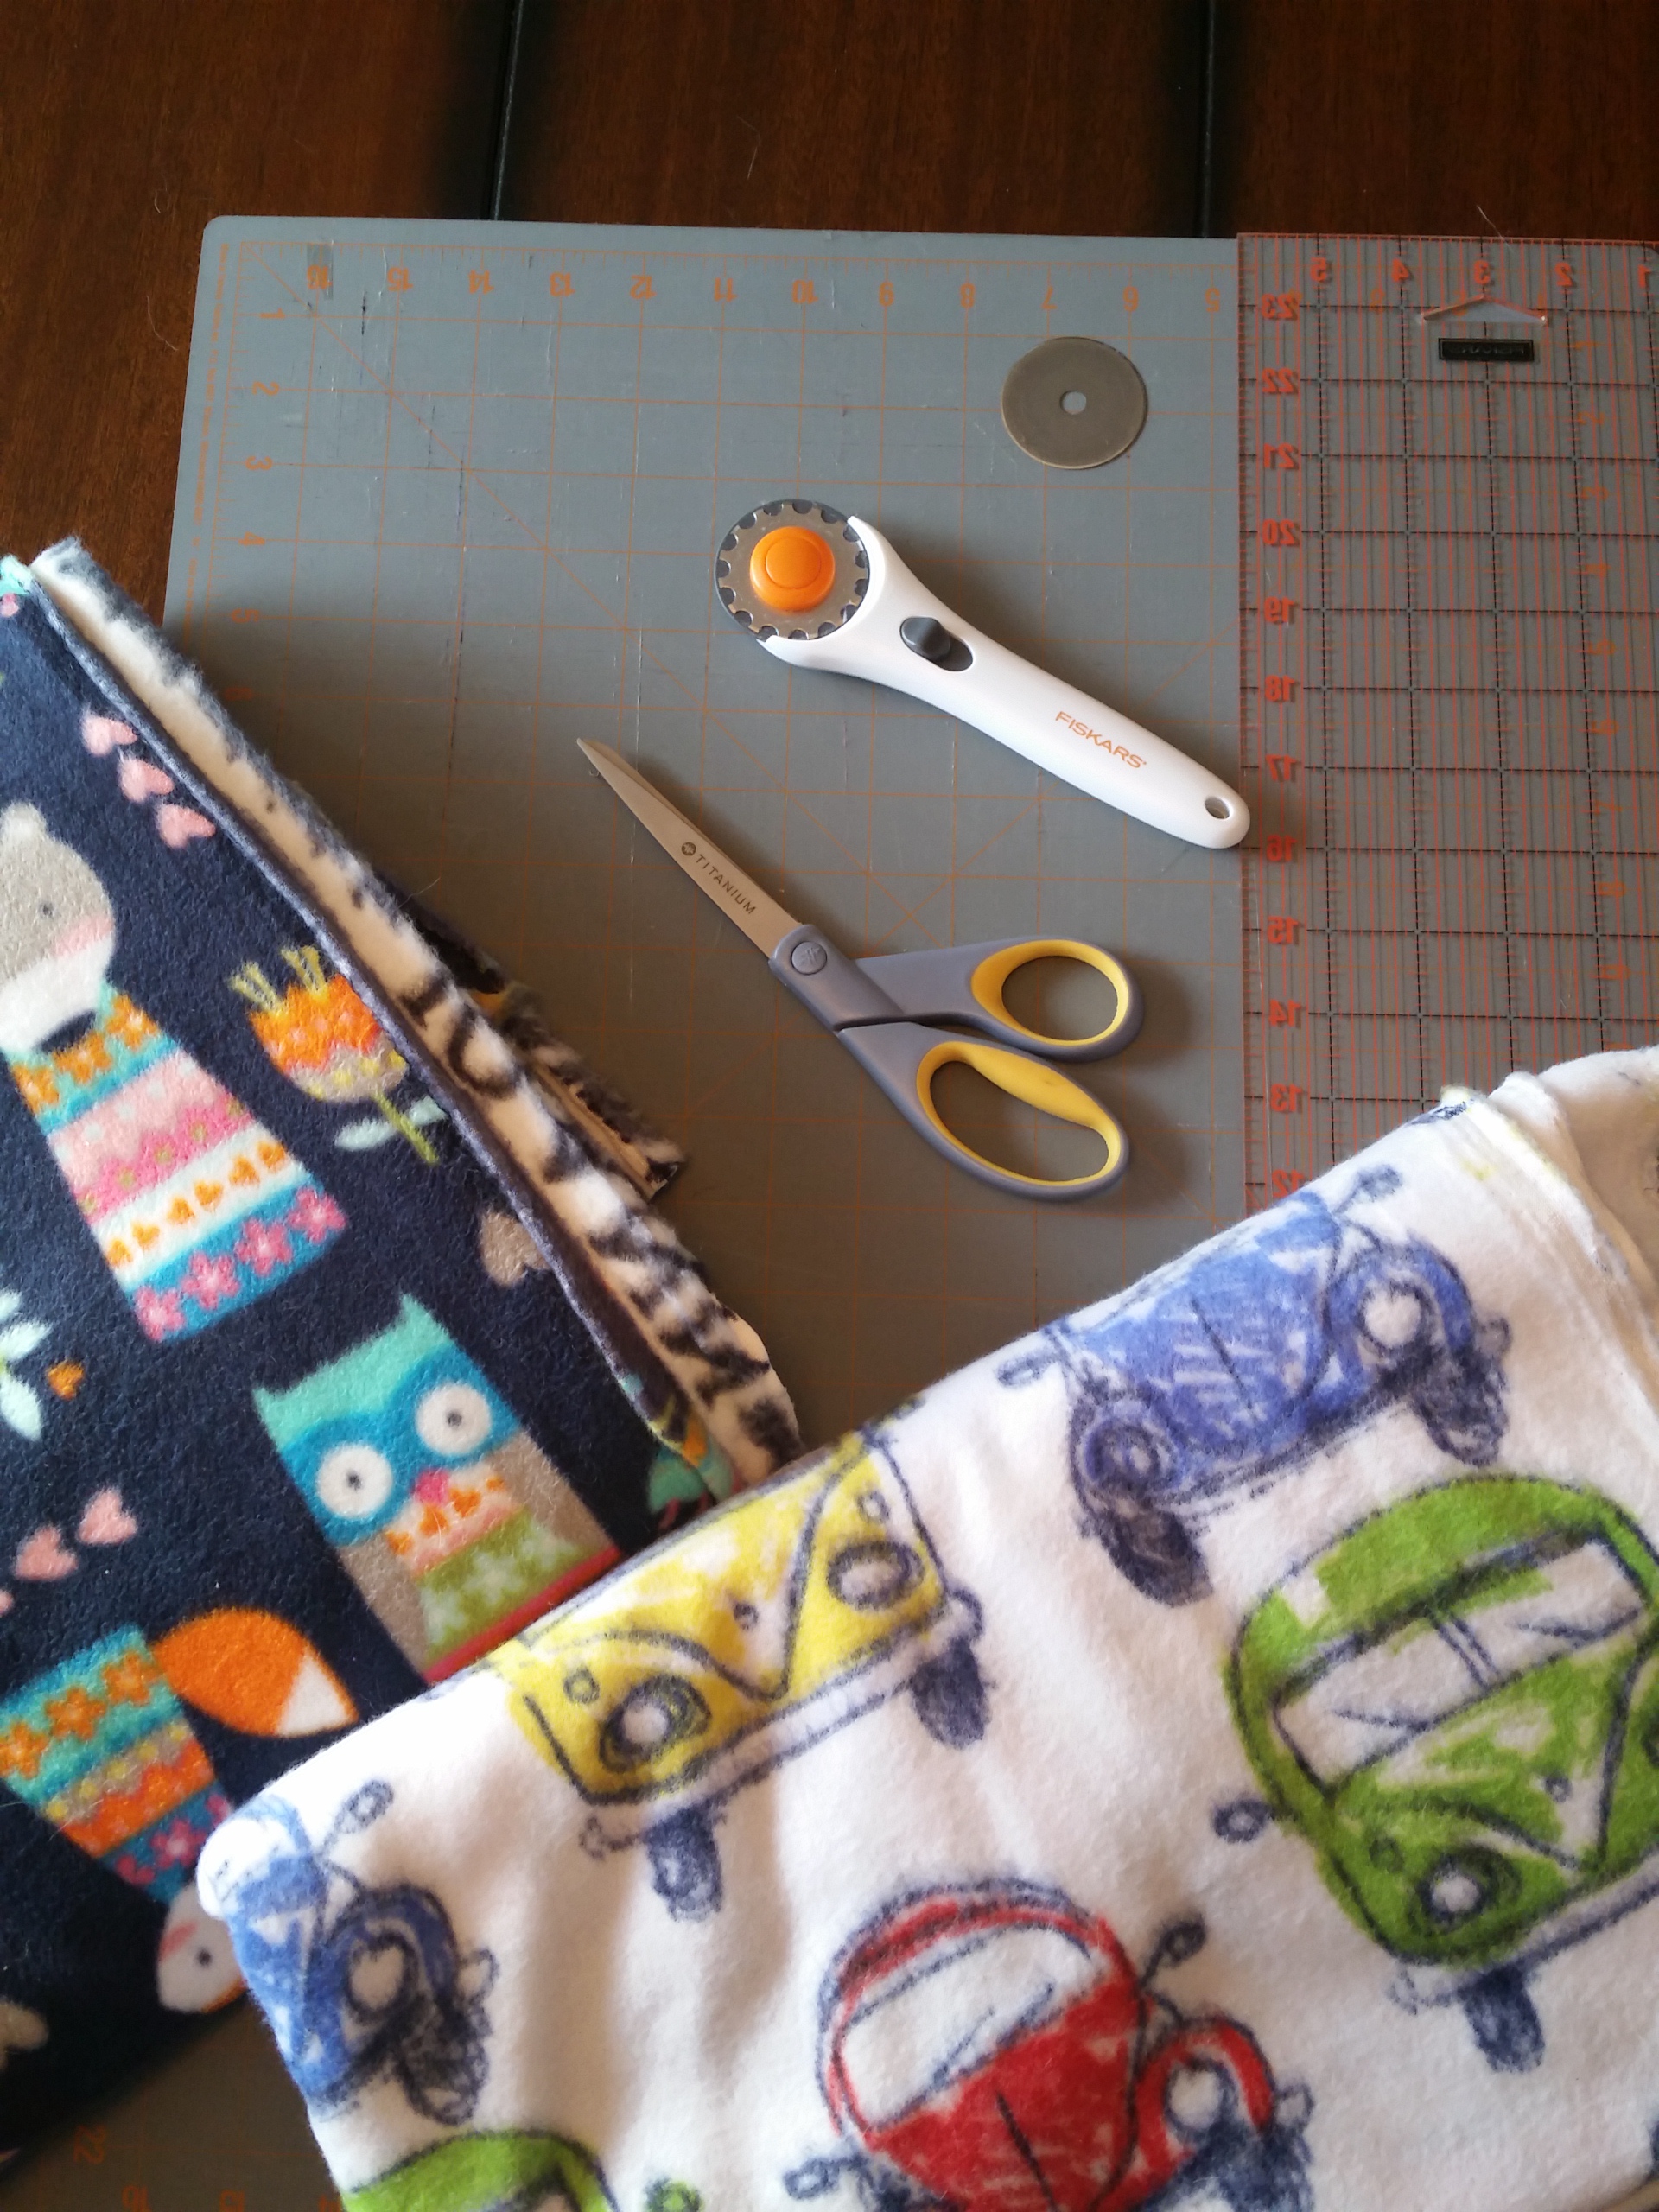
For this project you will need Fleece, scissors, a rotary cutter and a skip blade, a cutting mat, and a clear ruler. You could skip the ruler if you don’t have one and use a something else with a flat edge as a guide.
A note about fleece. I like to buy remnants. They are a piece of fleece less than 1.5 yards, kind of left overs at the craft store. The best part is that they are an extra 50% off the sale price! A super good bargain. I try to be sure the remnants I buy are at least .75 or a yard or more. You obviously can just buy fleece in whatever size you want.
This technique also works on flannel but the flannel isn’t quite as easy to work with. The holes had a bit of fray in them so it is more work to cram the hook through. I am guessing it would work with micro-fleece, lux fleece, or minky but am not sure.

This is my rotary cutter with a skip blade. A must for this project. I found mine with the other rotary cutters and scissors.
Step Two: Prepare your Fabric

This one is easy! Just cut the selvage off each end. I am saving the strips for a maybe someday project. Normal non craft hoarders would throw them out.
Then you need to cut your fabric to size. Since I am using remnants the sizes are sometimes odd. I just eyeball it and cut off what is needed to make a normal sized blanket. I am cutting mine in 5 inch increments because I am making 5 inch squares with the extra to someday make a patchwork type blanket. With crochet edging of course.

Step Three: Make the holes
Now it’s time for the fun part! Using the skip blade to make the holes you will crochet in. Don’t worry it’s not as scary as it sounds.

Put your fleece in a single layer out on the cutting mat. Line it up so you can start off with straight lines. It doesn’t have to be perfect! I don’t even trim off jagged edges because they will roll under when you crochet. Put your ruler about 2/3 of an inch in this gives enough fleece to roll under and make a neat edge. Approximately! Don’t stress here.

Line your cutter up and go for it! Press firmly and go slow. 
This is what the holes look like. My mat isn’t very big so I have to pull the fabric towards me and then re do the ruler. This is the only time I match the holes up for cutting. Just put one of the blades in the last hole and continue on.
Corners. I debated and debated how to do the corners. As usual I picked the easiest way. Just go for it. I just line the fabric up and cut. Not worrying about lining up holes or any thing. It works out just fine.
That wasn’t so hard was it? Now put away your cutting supplies and find your hook and yarn.
Part Two: Crochet Round 1
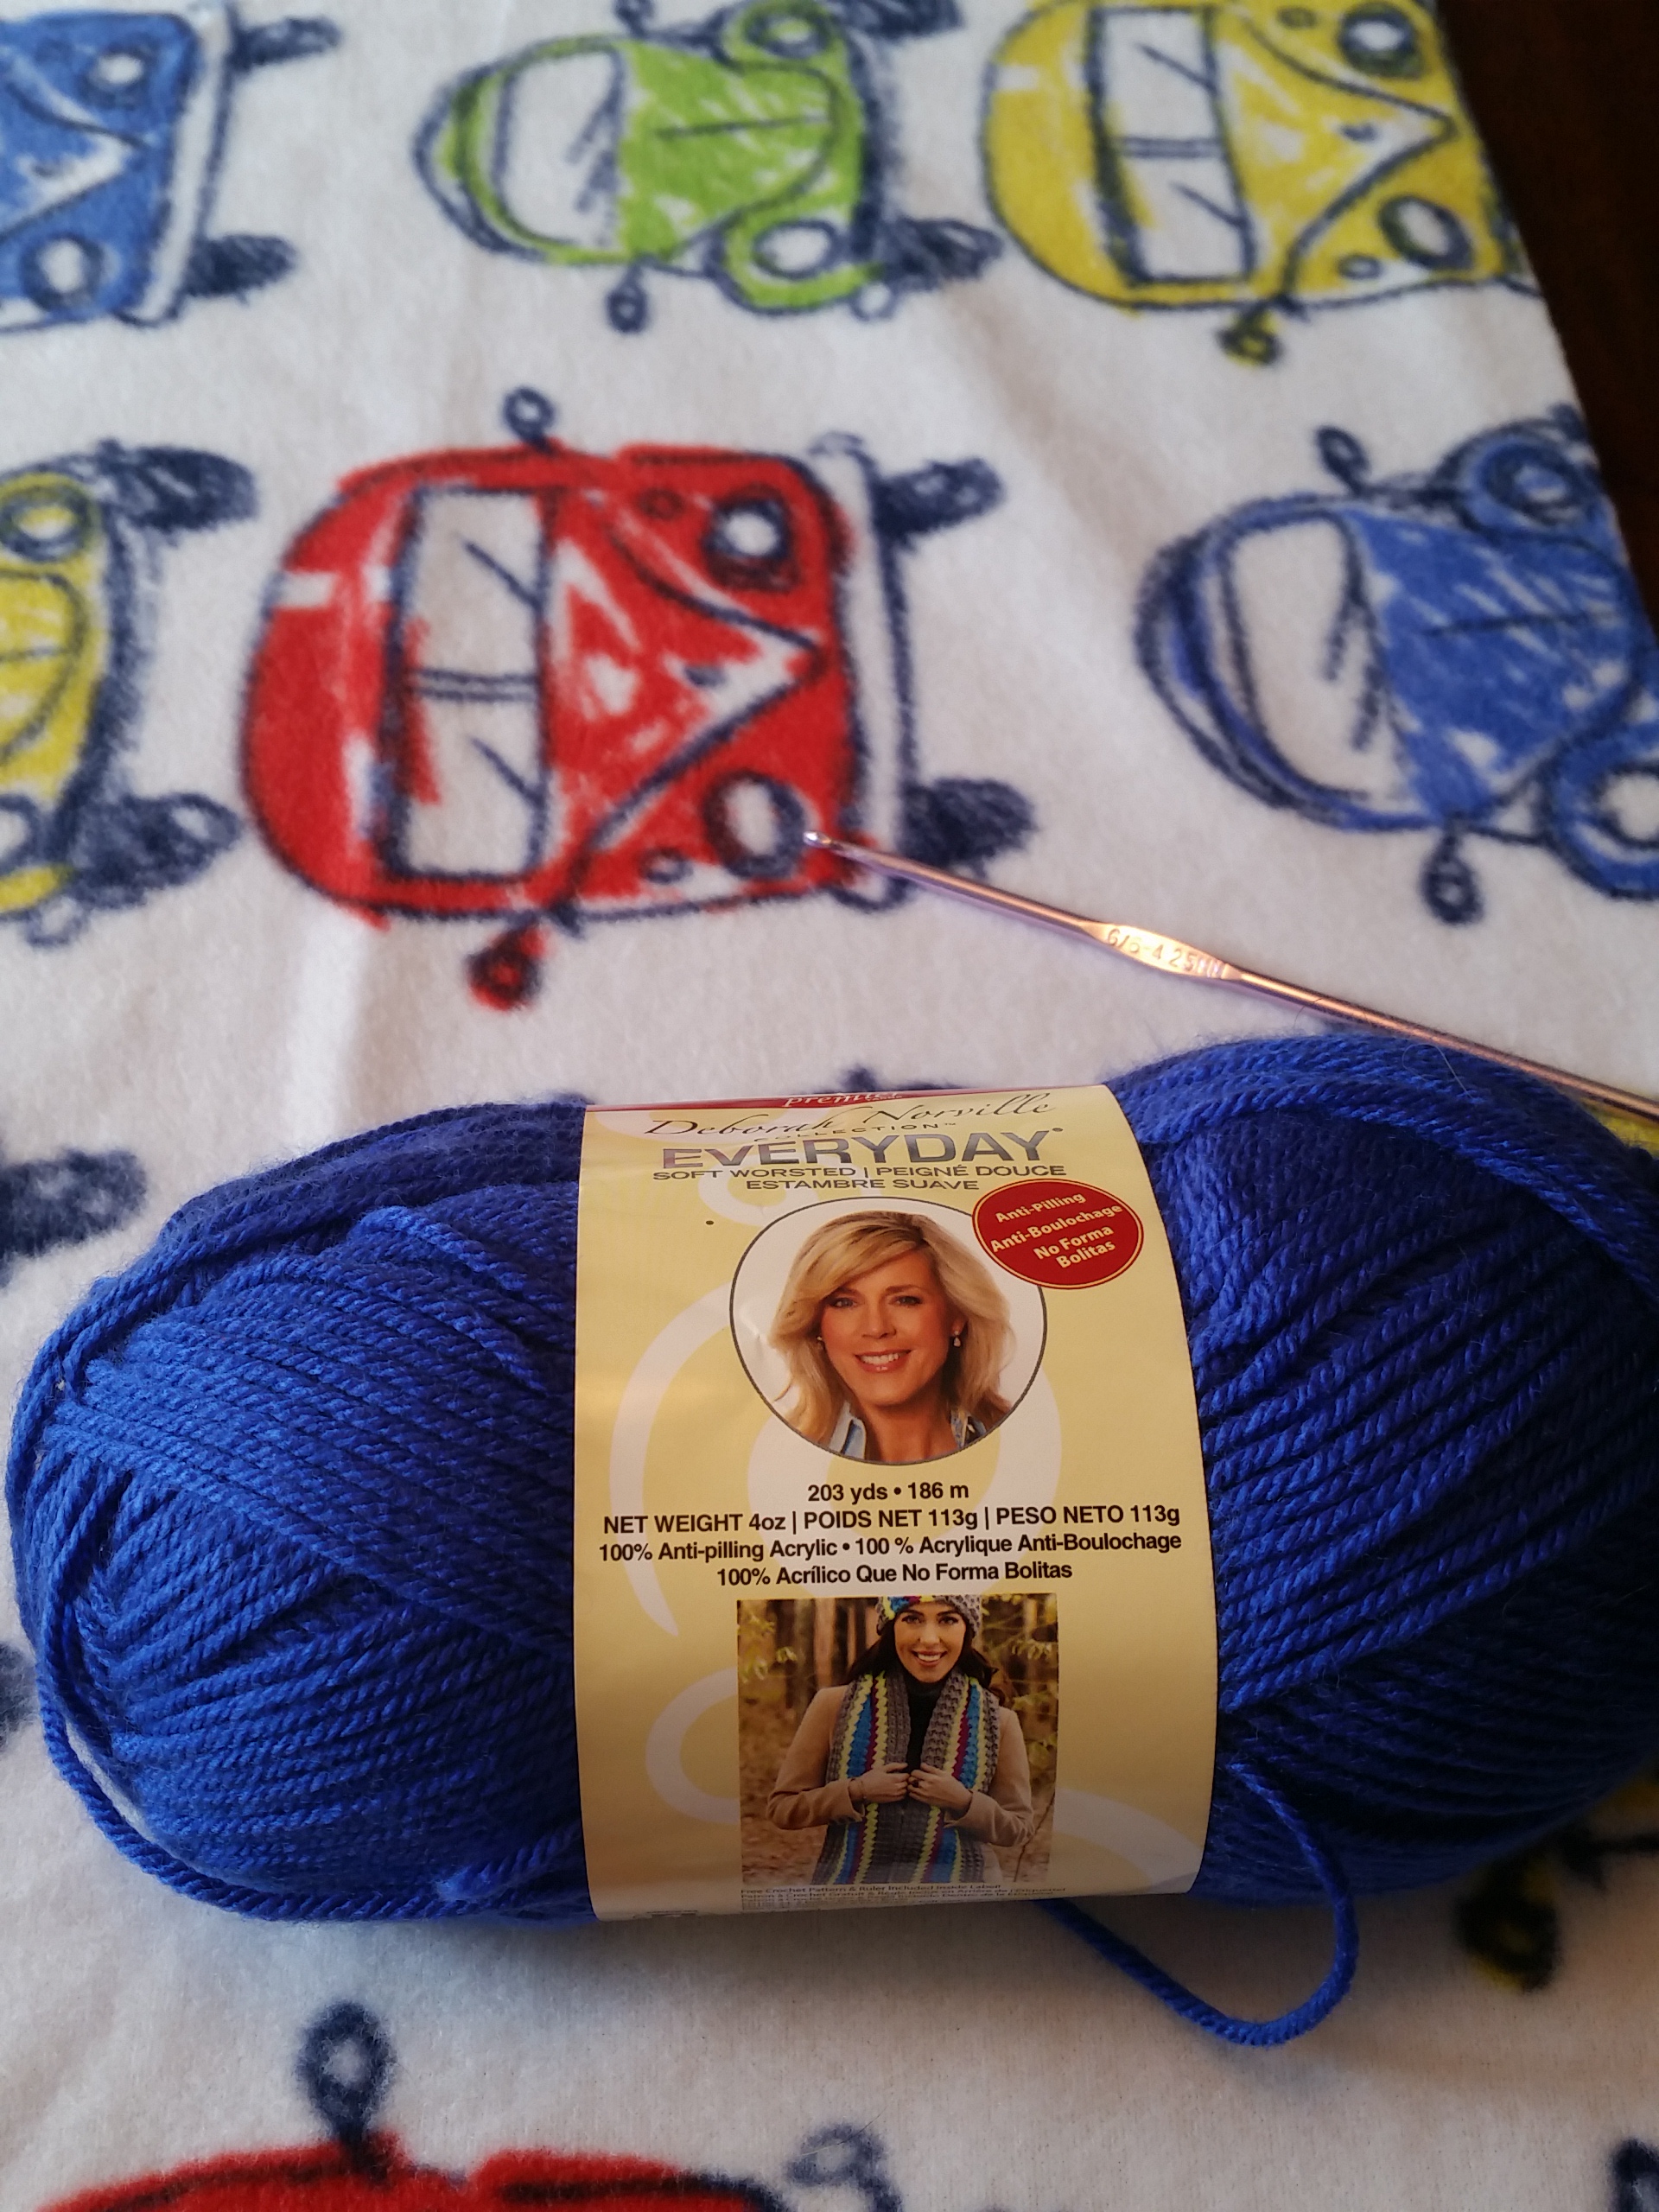
I am using some Deborah Norville worsted weight acrylic yarn. Any brand you prefer will work just fine. For me it was mostly about finding the color that matches best.
Size G crochet hook. This is the size I always use. Pretty much for everything. If you have a favorite for worsted weight use that instead. When my aunt taught me to crochet she told me to use this for everything so I do.

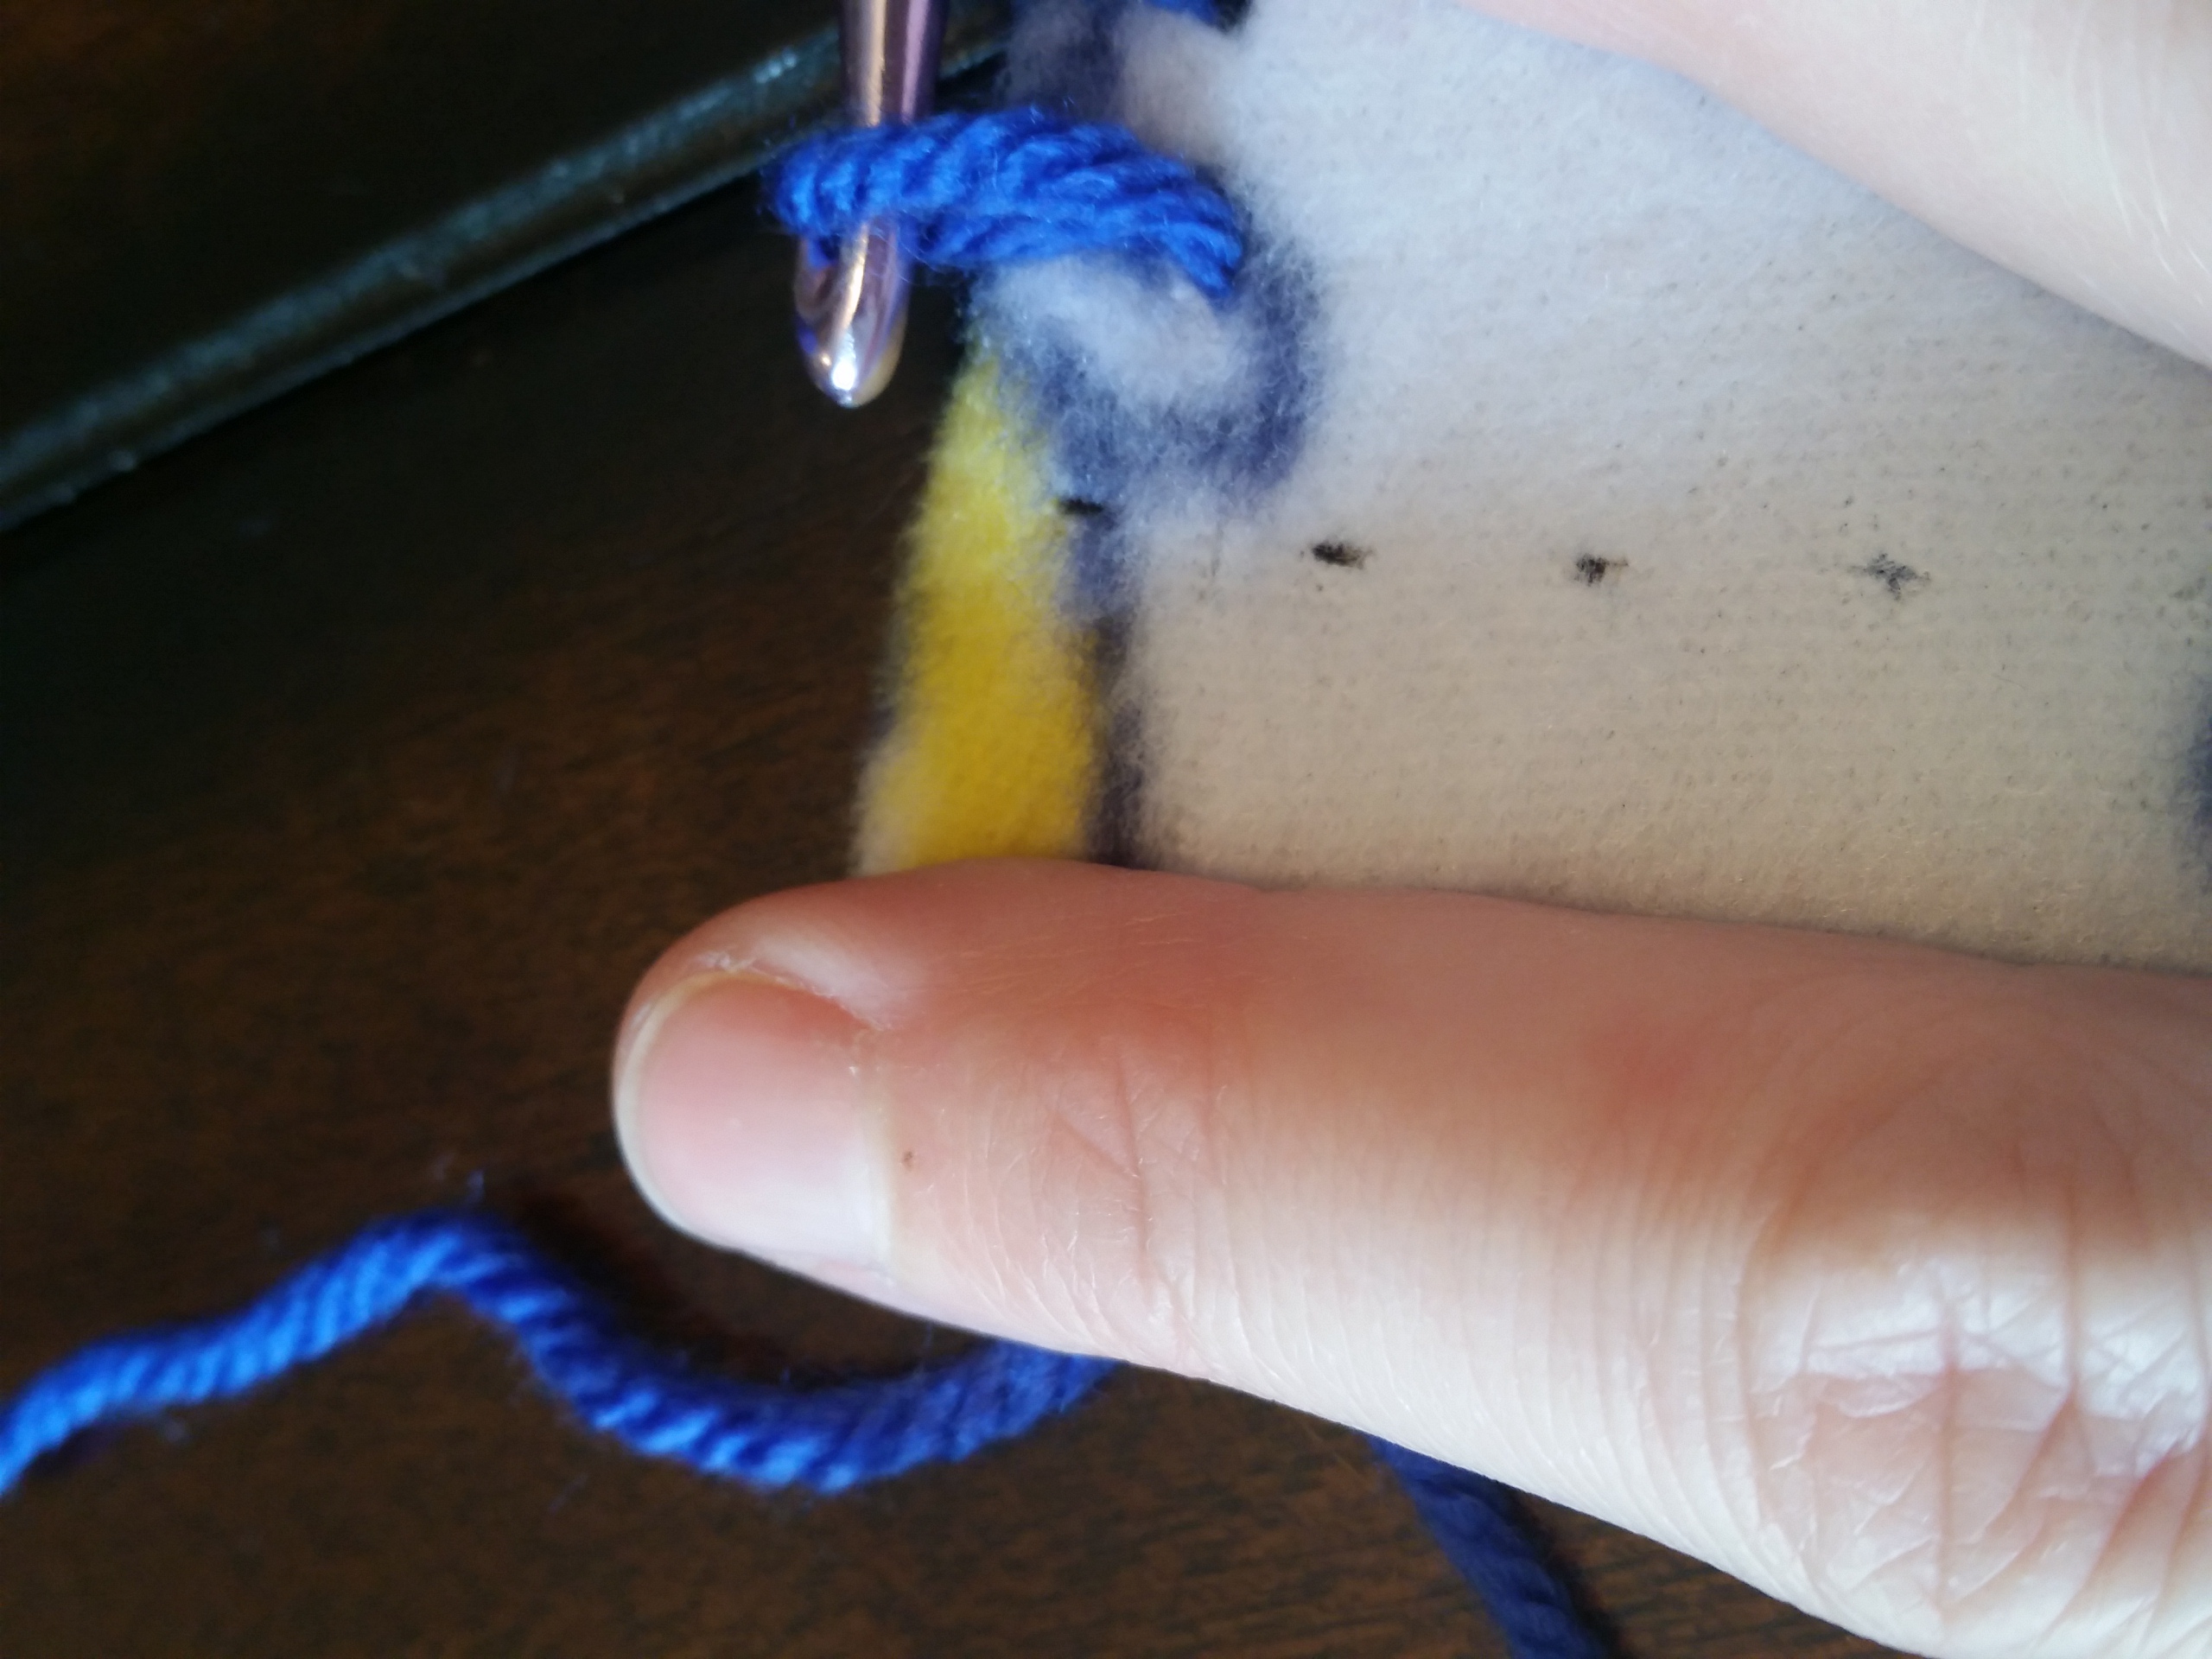
Holding the good side of the fabric towards you find a hole in the middle of an edge. Roll the fabric back so the edge is just above the hole. Poke your hook thru and pull a loop of yarn through. Chain one.

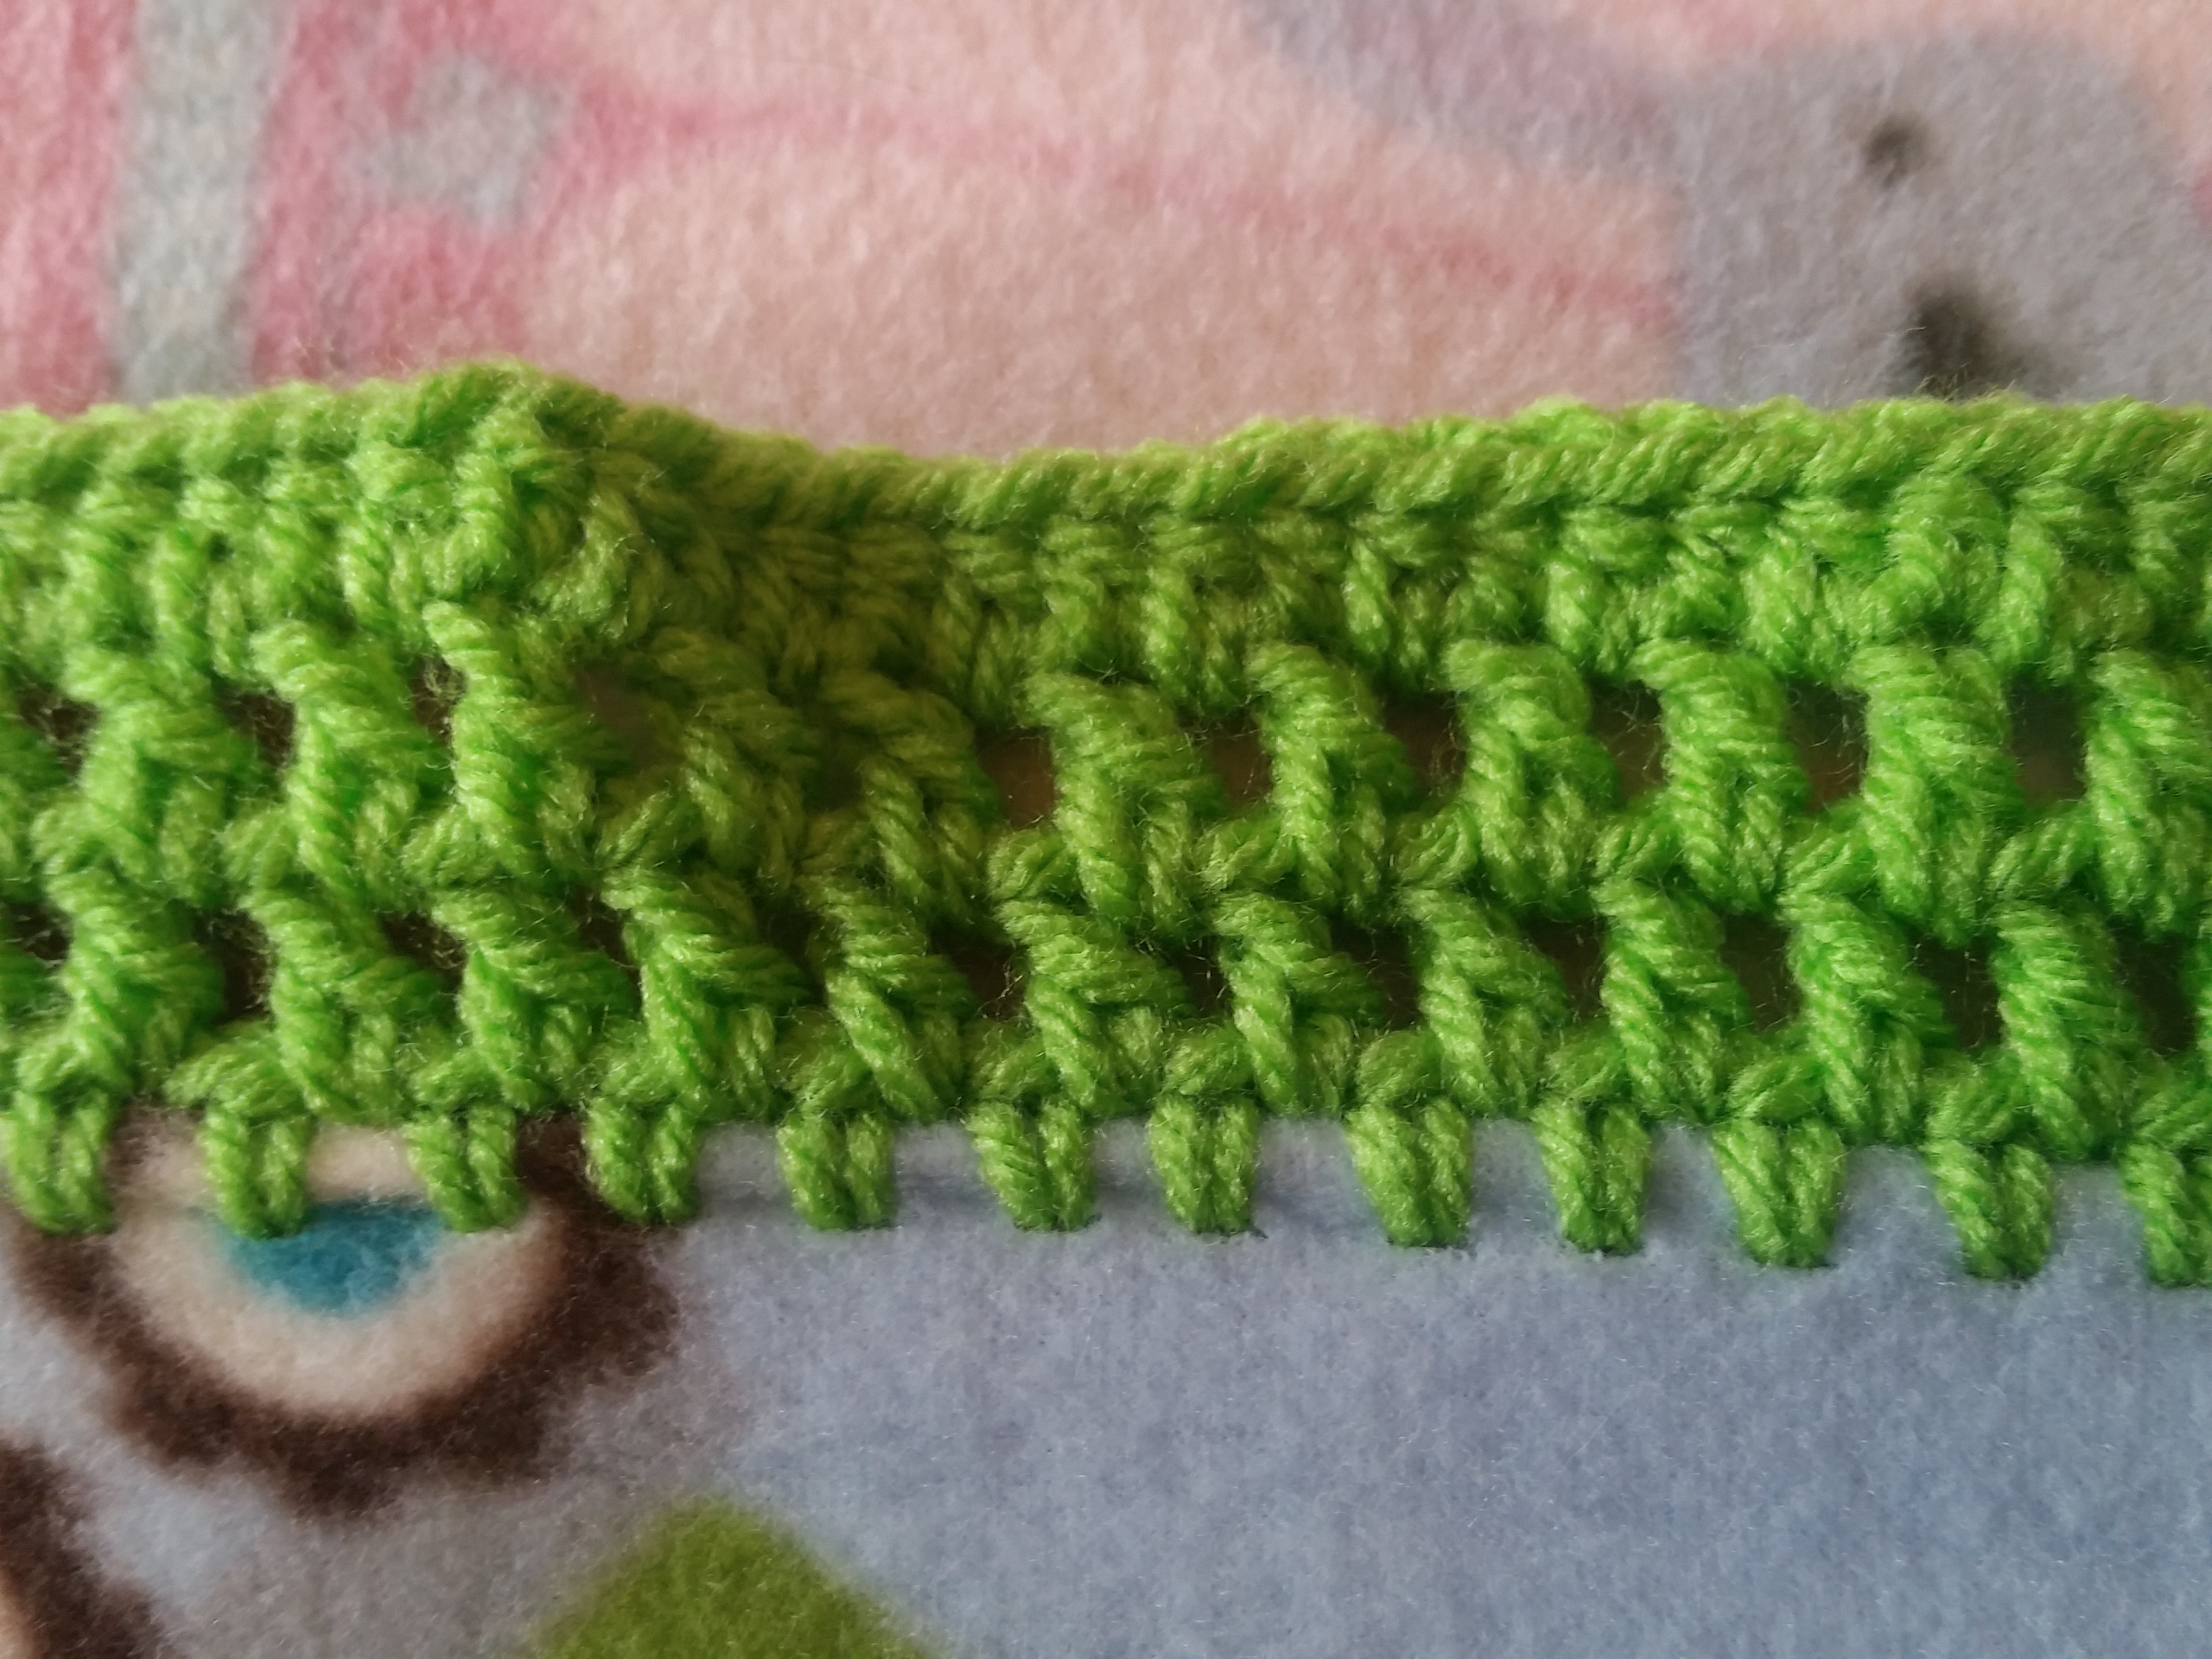
This is the back of the fabric after the first stitch. I slip the yarn end under the fold and work it in that way.

Now work a single crochet into each hole. Be sure to keep your stitches sort of loose so they don’t pull. Work until you get to a corner.
Work two stitches in the last one on that side. The one where I have my hook. Turn the fabric, tuck the corner down and work two in the next one. In this picture it would be the second one from the left.

The back looks a bit messy. After I am all done I use my tiny scissors to trim it up a bit and it isn’t noticeable.

Continue working a single crochet into each hole and working the corners as described. At the last stitch slip stitch into the first. If you are switching colors cut the yarn otherwise leave it be.
Part Three: The Edging

Now you are all set up to decide what type of edging you want to do. I have just been making it up as I go. And learning from my mistakes 😉 I will give you the basics of the three I have done but I didn’t follow a pattern. A quick ravelry search gave many choices.

This one was 2 rounds.
Round 1: Make 3 DC into every other stitch
Round 2. Work a 7 DC shell into every other middle DC. Slip stitch between.

Two rounds here too. It really could have used another round of at least HDC or maybe some shells but I was out of yarn so I just called it good enough.
Round 1: Chain 5, skip a stitch and slip stitch, chain 5 and repeat.
Round 2: HDC 4 times into each 5 chain.
This one is a chance for you to learn from my mistakes! I think the ruffling would be fixed if at the very beginning the DC was worked into every other stitch. Maybe. Or skip the chain one. Proceed at your own risk. I am giving directions for exactly what I did. The ruffling doesn’t bother me much.
Round 1. DC, chain one into each stitch.
Round 2: DC into each chain one.
Round 3: HDC into each stitch.
Even those this one is the least perfect it is really my favorite!
I know this was long but sure hope it was helpful! Please share on Facebook, Pinterest, Instagram, or wherever you would like!